
My husband and I were recently gifted 10 pounds of raw almonds from a friend of his, and the first thing that came to my mind was, “Ooh! I can finally make some homemade almond milk!” Of all things, right!? You guys, homemade almond milk is the bomb! I LOVE it! The first time I made some was about six years ago and I was blown away! I was so use to drinking store-bought organic almond milk, you know, the kind with all the thickening agents and additives, and I thought that was as good as it gets. Y’all, I was so wrong. That is NOT as good as it gets. Homemade is 10 times better! I literally have to restrain myself from drinking the whole freaking jug in one sitting when there’s some in the fridge.
Now, don’t get me wrong I do still buy store-bought organic almond milk, but I promise I would stick to only homemade if my pockets would just agree with me on that. Raw almonds aren’t cheap, y’all, and we drink a lot of almond milk in my house. But, if you can afford to keep homemade on hand at all times, you totally should. But, if you’re like me, treat yourself, your family and/or friends to some every now and then.
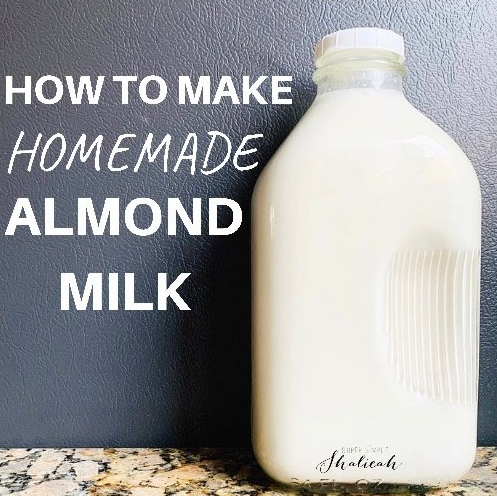
So, if you have never tried homemade almond milk, get ready because I’m about to show you how!
What You’ll Need
- High-speed blender
- Almonds
- Water
- One small glass bowl
- One medium glass bowl
- One Large stainless steel/glass bowl
- Nut Milk Bag
- Strainer
- Container large enough for storing homemade milk
- Salt (optional)
- Pure vanilla extract (optional)
- Medjool dates (optional)
- Funnel or large measuring cup with a spout
How to Make Almond Milk
Making almond milk at home is super simple (wink), and so worth it. I promise!
Ingredients:
NOTE: This recipe makes 64 oz. If this is too much for you simply cut the recipe in half.
- 2 cups of almonds
- 8 cups of filtered water
- 4 Medjool dates (optional)
- 1/4 – 1/2 tsp. Sea salt (optional)
- 2 tsp. Pure vanilla extract (optional)
NOTE: I use this recipe for drinking, and I use all of the above ingredients except for the vanilla extract. The Medjool date provides just the right amount of sweetness and flavor for me. However, if I were to use this recipe for cooking, I’d leave out the vanilla and the dates.
Directions:
NOTE: I blend this recipe in two batches. Two cups of almonds and 8 cups of water will not fit in the blender at once, but 1 cup of almonds, 4 cups of water, and any optional add-ins fit perfectly.
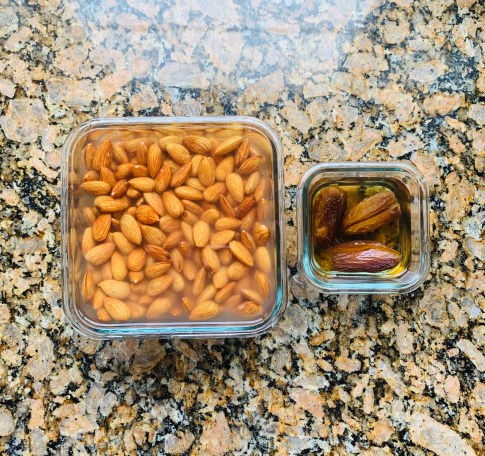
- Soak almonds in a medium glass bowl using filtered water (enough water to completely cover almonds) for 8-24 hours. Also, soak dates in a small separate bowl for the same amount of time if you are using.
- Once almonds are done soaking; strain and rinse. Do the same for the dates if you are using some.
- Add almonds and water to blender. Also add dates, salt, and vanilla if you are using.
- Blend on high speed for about a minute or two. You want to look for a smooth creamy consistency.
- Place the nut bag in your large bowl and pour blended milk into the bag. Once all the milk drains out, squeeze the bag to get as much liquid out of the pulp as you can. After all the milk is strained, use a funnel, or large measuring cup with a spout to transfer milk from bowl to storage jar.
Steps to Make:
Step One: Soak
Soak almonds for about 8-24 hours.
Step Two: Drain and Rinse

Drain and rinse almonds (dates as well if using) in filtered water.
Step Three: Add Ingredients to Blender

Pour your first batch into the blender (1 cup of almonds and 4 cups of water). Also add dates, salt, and vanilla if you are using.
Step Four: Blend

Blend ingredients for about 1-2 minutes; until you have a smooth creamy consistency.
Step Five: Strain


Place the nut bag in a large bowl, and pour the milk from the blender insides the bag so it can through. With clean hands, squeeze as much liquid out of the pulp as you can.
Step Six: Pour


Once you have gotten as much milk as you can out of the pulp you can now pour the milk into your storage container. I use a large measuring cup with a spout to scoop and pour the milk into my container. If you don’t have a measuring cup with a spout; a funnel works well. If you use a funnel you may need someone to hold the funnel while you pour or vice versa.
Step Seven: Repeat
Repeat steps 1-6 for your second batch (1 cup of almond + 4 cups of water) minus the optional add-ins. You should have already added those to the first batch if you are using some. If you didn’t go ahead and add them to this batch.
NOTE: Before straining your second batch of milk through the milk bag, be sure to empty the pulp from the prior batch first. You can toss it, or save it in a bowl if you want to make use of it (I list ideas for using the pulp in the FAQ section below).
Step Eight: Enjoy the Fruit of Your Labor!
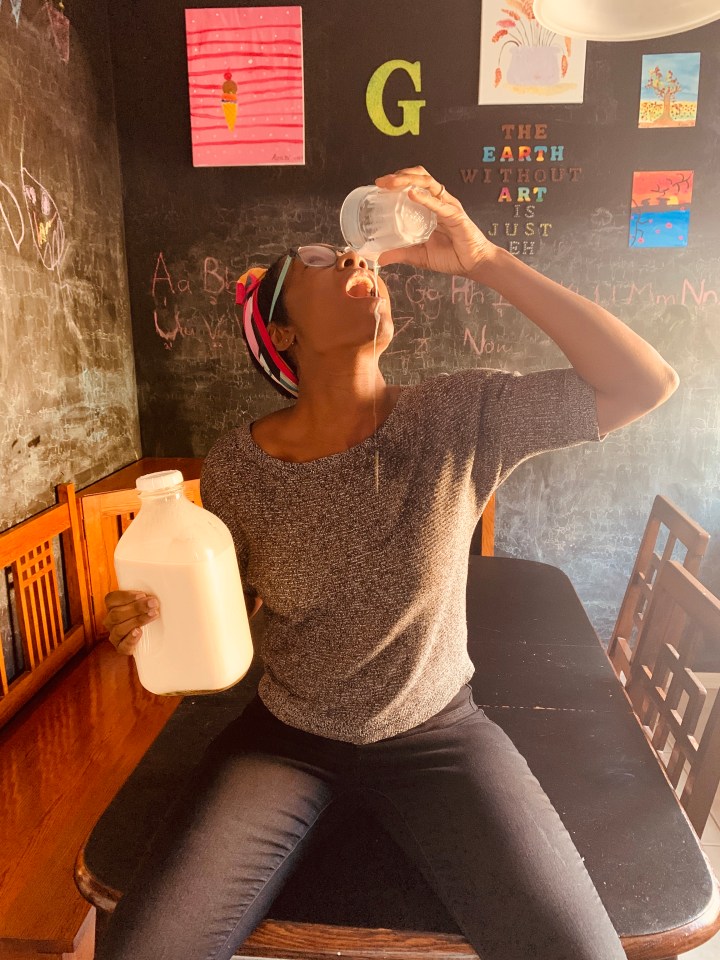
And, have a little fun while you do!
Homemade Almond Milk FAQs
How long will my milk last? Homemade almond milk can be stored in the fridge for up to 3-4 days. This particular recipe can be cut in half if you think you will not be able to finish it in four days.
My milk has separated, is that normal? Yep! Even store-bought almond milk separates. It just does so at a much slower pace. This is why some cartons say, “shake before use”. The same applies with homemade milk. It too will separate, but it usually happens at a faster pace because it’s free of additives, thickening agents, stabilizers, and emulsifiers. Just give it a good shake before use. I promise it’s NOT spoiled as long as you have not kept it in the fridge longer than four days.
What kind of almonds should I use? I recommend using organic, raw almonds. I know organic can be a bit pricy, so if that’s not an option, raw is best. I recommend not using roasted because they may contain added oil and salt.
What do I do with the leftover pulp? You can simply toss it or make use of it by turning it into a yummy snack. I’m all about that low-waste life, but in the kitchen, I aim for no waste. So, I personally like to make a hummus, energy bites out of it. You can also add it to smoothies, yogurt, homemade granola, oatmeal, and chia pudding. FYI: Almond pulp will last up to 4 days in the fridge. So use sooner rather than later. I store my pulp in a glass container with an airtight lid.
Thank You!!
Thank you so much for taking the time to read this post! If you liked it, enjoyed it, and/or received something out of it in any way, please show your love and appreciation by leaving me a comment and/or sharing this post on social media! ❤️
Your Turn!
Have you tried making your own almond milk? Did you like it? Are you planning to try? Was it weird? Let’s talk about it! Share your thoughts and/or experience below!
